- How the audio selection is introduced! (music? Sound effects? A wide sound that sets the tone for everything else that follows? (called an audio sting)
- How is our interest maintained? How do they keep our attention?
- Structure: How is the audio sequence divided up? Can you identify clear sections that repeat, vary widely, or alternate? Is there a clear "format" of this audio selection?
- by "format" I mean, is the audio intentionally divided into sections, or is it all considered one consistent piece and one consistent idea?
- Finding the format of your audio selection may take listening to it a couple times.
Wednesday, February 27, 2019
Homework for Monday, March 4th
Conduct research and recordings for your next project! Find samples of other audio productions that relate to your goal, and bring them in for review! Pay attention to the following:
Group Discussion Notes:
Please make note of the following!
In each project:
In each project:
- Subject matter: On topic?
- Listening experience: Is there variety in what is heard? Does it loop? Is there anything that can be done to improve the overall experience?
- Sound depth: The simulation of distance, space, and acoustics in your film.
- Mastering and audio balance:
- Volume
- Frequency of the audio (vibrations?)
- Left and Right Speakers (Directional sound)
- Effects?
- Then share some ideas for what you would like to do for your next project!
- Brainstorm some recording strategies for a 2-3 week audio project where you will be developing a complete production of your choosing!
- Make a copy of these notes, then save them on the server in your respective folder!
Sunday, February 24, 2019
MIDTERMS CHECKLIST
Midterms Checklist:
On Wednesday, February 27th, please make sure you have the following items turned into the server. For each project, you should turn in two folders:
Listing of our projects are below. if you made multiple versions, change the filename to v1, v2, etc.
On Wednesday, February 27th, please make sure you have the following items turned into the server. For each project, you should turn in two folders:
- (1) a folder containing your logic pro files and
- (2) a folder containing any of the raw recording materials you have used on projects
- (3) a folder containing a typed document that has references to any sound files you used from online and their sources.
- (4) a folder containing the final .wav, .mp3, or .aif files for your projects. Bounce at least two, and make sure one of them is a .mp3 file just in case someone is unable to read the other file formats at home.
Listing of our projects are below. if you made multiple versions, change the filename to v1, v2, etc.
- Project 1: Your first production experiment. You were asked to use elements within logic pro to create a simple project of your choosing. Experiment with both audio files and software instrument files.
- final file name: [lastname_production1]
- Project 2: Your dialogue project. You were asked to record a piece of dialogue in the sound lab, and then select sounds and/or music to emphasize what is being said.
- final file name: [lastname_dialogue1]
- Project 3: Your silence project. This project answers a simple question: How do you define "silence?" This was a chance to have you start building spaces with audio, and use your skills to curate a listening experience for yourself and others.
- finale file name: [lastname_silence1]
Wednesday, February 20, 2019
Homework for Monday, February 25th 2019
- Bring to class a copy of each project you have worked on so far, including this one! Bring the project file, as well as any exported .mp3, .wav, or .aif files you have created. You will turn each one to the server with instructions that will be given on Monday.
- Continue working on your silence project! Bring a version to turn in with your other work monday, even if you have a few changes you are still making to the project. Homework for Monday will be to go home and listen to the assignments others have created.
- The checkout list for this week is below remember to fill out the checkout sheet included in your email!
- Checkout: Wednesday, 2/20/19 - 2/25/19:
- Audio Kit 1: Jonathan
- Audio Kit 2: Esme
- Audio Kit 3: Maddie
- Next Wednesday, I will introduce our next project! This one will be more open-ended, and I will simply give you a prompt with instructions written on it. Good luck!
Monday, February 11, 2019
Topic: The art of Silence
"silence" is defined as:
The following article touches on the idea of silence and how important it is for sound production.
Sound Design for Visual Media and Radio
silence |ˈsīləns|
noun
complete absence of sound: sirens pierce the silence of the night | an eerie silence descended over the house.
• the fact or state of abstaining from speech: Karen had withdrawn into sullen silence | she was reduced to silence for a moment.
• the avoidance of mentioning or discussing something: politicians keep their silence on the big questions.
• the state of standing still and not speaking as a sign of respect for someone deceased or in an opportunity for prayer: a moment of silence presided over by a local minister.
verb [ with obj. ]
cause to become silent; prohibit or prevent from speaking: the team's performance silenced their critics | freedom of the press cannot be silenced by tanks.
• (usu. as adj. silenced) fit (a gun or other loud mechanism) with a silencer: a silenced .22 rifle.
PHRASES
in silence without speech or other sound: we finished our meal in silence.
ORIGIN Middle English: from Old French, from Latin silentium, from silere ‘be silent.’
As you can see, there are multiple definitions of silence. Why is this a fact?
The following article touches on the idea of silence and how important it is for sound production.
Sound Design for Visual Media and Radio
The following link depicts different types of silence, including "absolute silence.
We often view sound in different ways. Silence is a tool we need to master that is JUST AS IMPORTANT than the audio we produce!
Topic: Audio Recording on a Budget!
Audio production can get EXPENSIVE… but does it have to be? Here are some tools and considerations that can help you build your own small production studio.
1: Considerations
- What do you want to record?
- How many people do you need to record?
- What is the best tool for the job? (See below)
- Where do you want your recordings to be? (inside, outside, etc.)
- What do you want them to sound like. (Besides phrases like good, or bad, or crappy, compare it to a type of audio production!)
- "I want it to sound like a radio broadcast with very clear voices ."
- "I want it to sound like a podcast where multiple people talk and can be heard."
- "I want it to sound like a music production with lots of different instruments"
- "I want it to sound like a movie soundtrack with lower audio, but lots of mood and ambiance."
2: Based on that, what is the LEAST amount of tools you need?
- A microphone.
- A piece of hardware or software to record and/or edit your audio.
- A decent speaker or a pair of headphones to properly hear what your audio sounds like.
- Some method of saving finished files.
- A location to place your finished files so people can hear them! (soundcloud? the internet? a blog? iTunes? etc.)

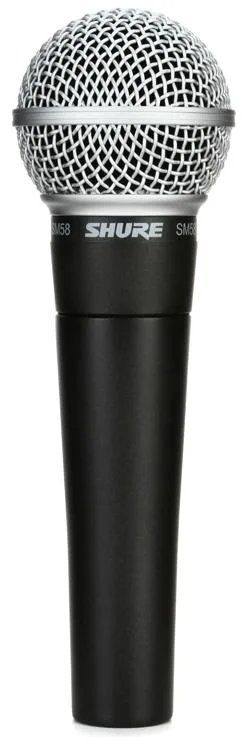
- Dynamic Mic: Uses Electromagnetism to convert sounds into digital signals.
- Our Basic Microphones that we most commonly see are this!
- Built for a variety of situations, but mostly need to receive sound directly to work.

- Condenser Mic
- large and small diaphragm microphone types
- often requires a preamp (some device that relays power to it to work)
- We call this PHANTOM POWER. (Power that comes from some "other" source.)
- USB Mics Commonly used today for live-streaming, podcasting on a budget, etc.
- Relies on the power of your computer to work.
- Example: Blue Yeti
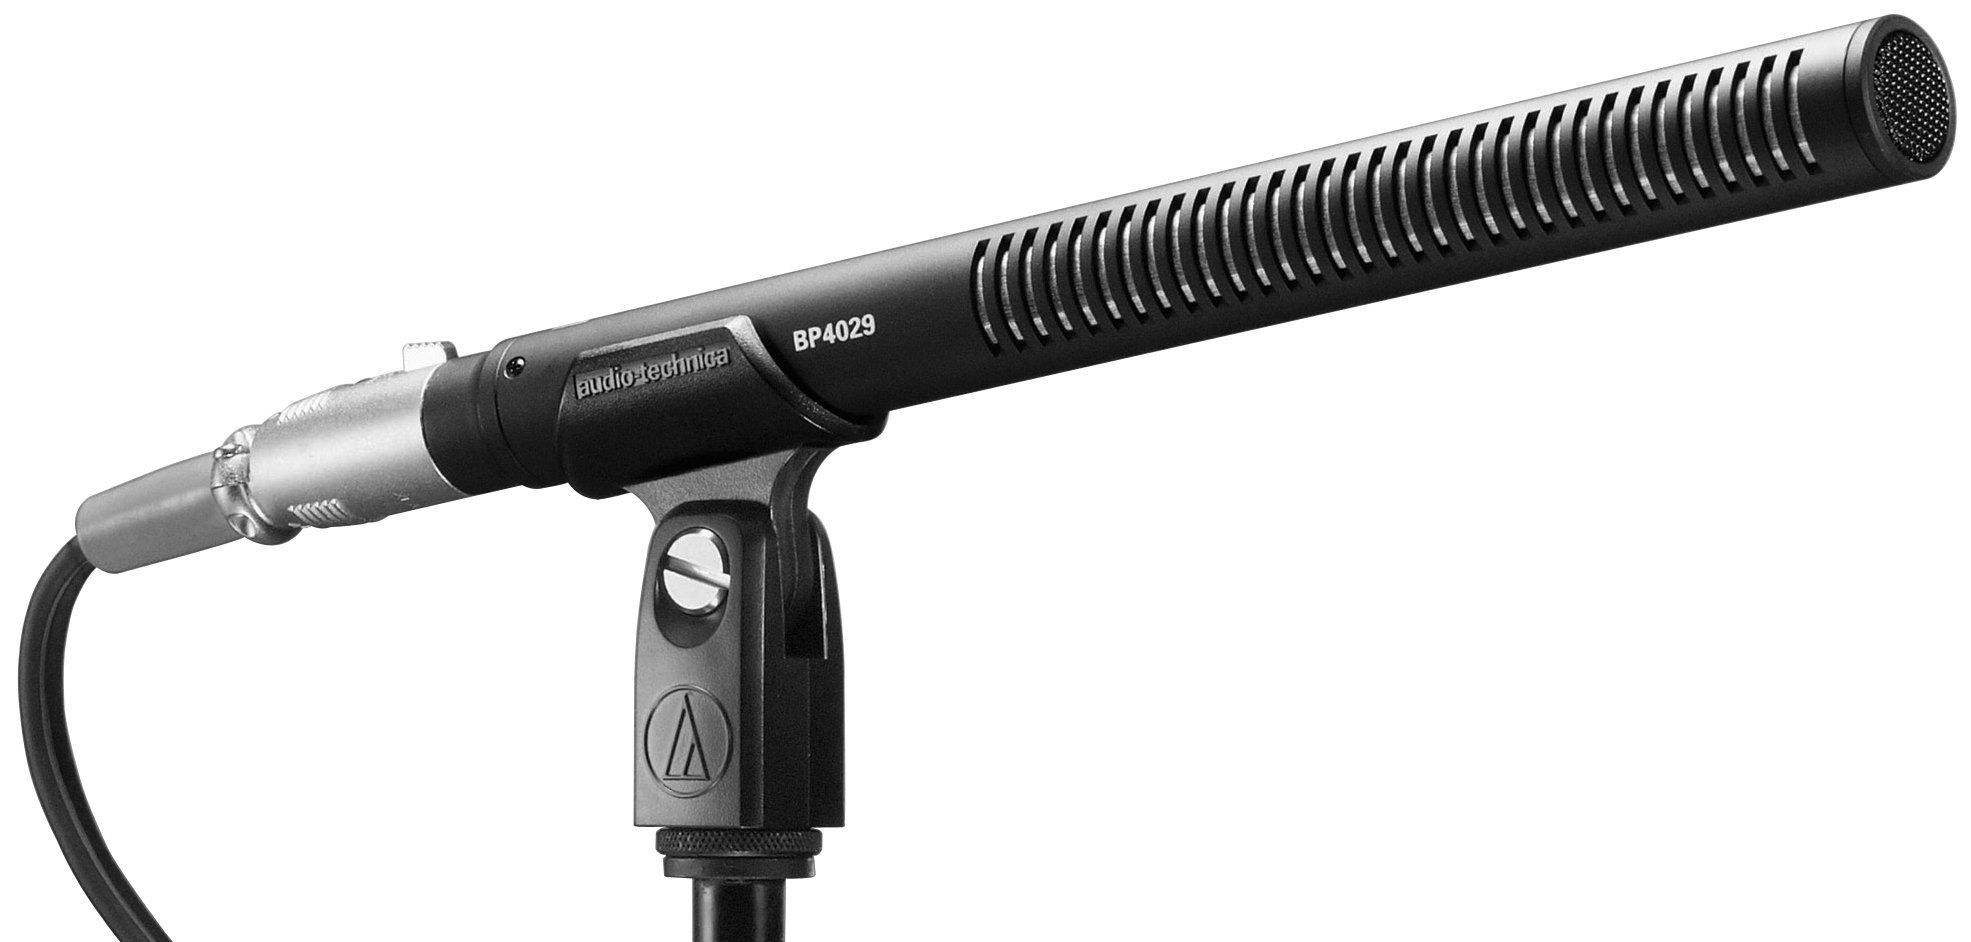
- Shotgun Mics
- Long, round mics that have a very narrow range of audio pickup. Designed for hearing audio that is far away.
- "Point and record! Like a Shotgun! Take the "far away" and make it feel like it's up close!"
- EXTRA NOTE: Polar Patterns with a link to other types of microphones
- Polar Patterns: How audio is picked up by the microphone.
- Different Microphones have different polar patterns. The polar pattern image is drawn from above the microphone.
- Cardioid:
- Omni Directional
- Figure 8
4: Types of Recording Equipment
- DAW: Digital Audio Workstations
- Paid workstations are available.
- Free Alternatives: https://producelikeapro.com/blog/free-daws-best-available-2018/
- Notables:
- Audacity
- Garage Band
- Cubase LE
- Note: Audio Hijack: A program that lets you grab audio from other sources.
- Handheld Recorder Examples:
- H4N (Brand: Zoom)
- Microtrack II (Brand: M-Audio)
- Your Phone! (With a decent enough microphone!)
5: Good Starter Speakers and Headphones:
- Ask yourself: Do you care about bass? treble?
- It’s always good to find headphones that give you the “basic” tone of your audio, without any bass boosting or treble boosting.
- Headphones vs Earbuds:
- Headphones provide a wider dynamic range for audio, making it easier to distinguish between different tones and frequencies.
6: Environmental tips:
- When recording: Shut off “running” objects that emit low hums. Powerful microphones can pick up these low hums.
- Using soft fabric around your recording location can dampen excess, unwanted sounds, making it easier to record your important audio.
- The quality of the audio you record depends on your mic getting enough power, the acoustics of the environment you are in, type of microphone, and distance from the subject you are recording. Use the right tools for the job!
The starter kit:
- one usb microphone
- a basic speaker
- a DAW like audacity, or garage band.
- some decent headphones
For more info: https://ehomerecordingstudio.com/types-of-microphones/
Monday, February 4, 2019
Review of Content We Have Covered So Far:
Working within Logic Interface (from Top to Bottom and Left to Right):

Library: A location of all of the software instruments in Logic Pro
Inspector (Info Tab): Gives you all the information for your Current Track.
- Region: Information of the clicked upon block of sound, or the track itself.
- Quantize: Snapping sound effects to specific beats or bars of time.
- Track: Notes about the track itself.
- Mixer: Had Knobs, Effects, and Channels that let you adjust the levels of your audio (volume levels that are read in decibels(db) and add new effects onto them!
- Audio FX channel: Add different effects onto your content to make it stronger.
- Sample Effects:
- Reverb: Vibration of audio. Makes it sound more or less spacious.
- Echo: Repetition of audio.
- Gain: Increasing the initial volume of audio
- Distortion: Adding complexity to the audio by constricting the waveform.
- EQ: Adjusting the frequencies within the audio.
- Pitch: Making the sound higher pitched, lower pitched etc. Changing the threshold at which the sound waves vibrate. (tighter threshold = higher pitch!)
- Modulation: Adding complexity to the audio by pulsating the waveform.
Tool Bar: Hidden by default. (will add to soon)
Controls and EQ: Used to edit any audio. Each set of controls and EQ are track specific.
Virtual Mixer: “X” Key. Brings up the levels of all of your tracks. Can adjust levels and EQ here to produce a “Final Mix” of your audio.
Time Counter: By clicking symbol on the right: you can seethe following:
- metering (bars, beat divisions, beats per minute, time signatures)
- time (time codes for each point of your project)
- or a mix of each.
Track listing: This is your workstation. It has all your tracks (layers), with a ruler on top that denotes time, beats, and the like.
Types of Tracks:
Software tracks(green by default): Utilizes all of the software instruments that you will be using.
Audio tracks(blue by default): Utilizes recored audio from an outside source, or records audio into itself.
Subscribe to:
Comments (Atom)